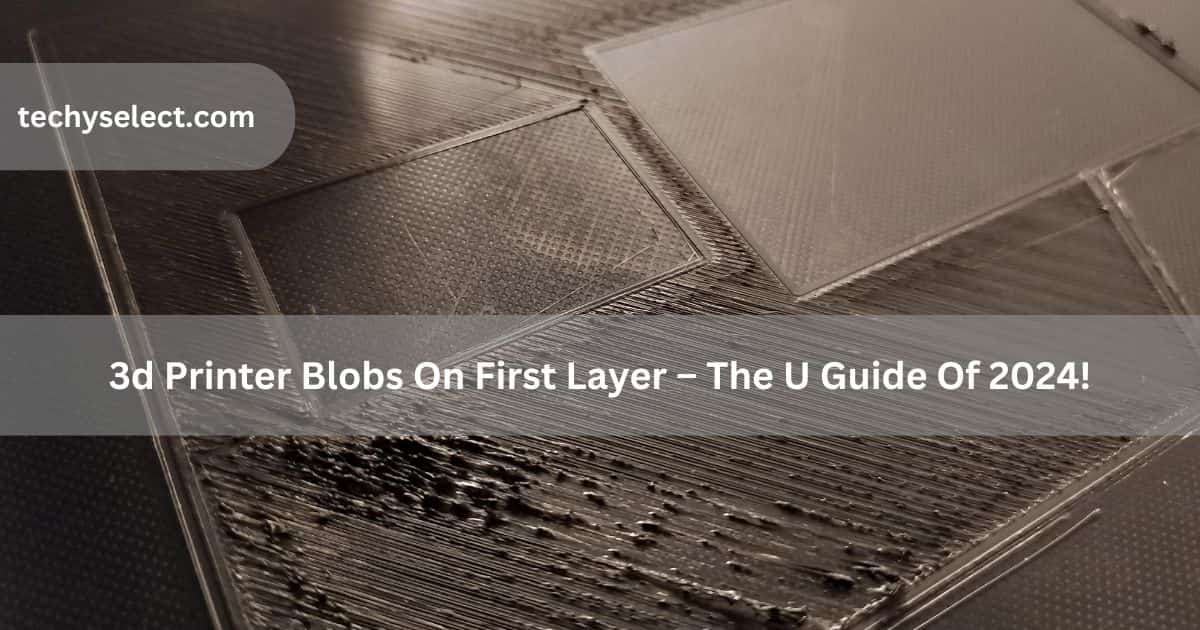
When I started 3D printing, blobs on the first layer confused me. I cleaned the bed, adjusted the settings, but kept failing. Over time, I learned simple fixes that made my prints smooth. Let me share them!
3D Printer Blobs on First Layer (Short Answer)
Blobs on the first layer in 3D printing happen due to uneven bed leveling, high nozzle temperature, or too much filament flow. Fixing these with simple adjustments ensures smooth printing and prevents this common issue.
In this article, we will discuss 3D Printer Blobs on the First Layer.
What are 3D Printer Blobs on the First Layer?
Blobs on the first layer of a 3D print are small lumps that can make your print uneven. These usually happen when the printer bed isn’t level, the nozzle temperature is too high, or too much filament is used.
Fixing these issues is simple with small adjustments. Level the bed properly, lower the nozzle temperature if needed, and check the filament flow. These steps will help you get a smooth and clean first layer every time.
Why are there gaps in my first layer of 3D printing?
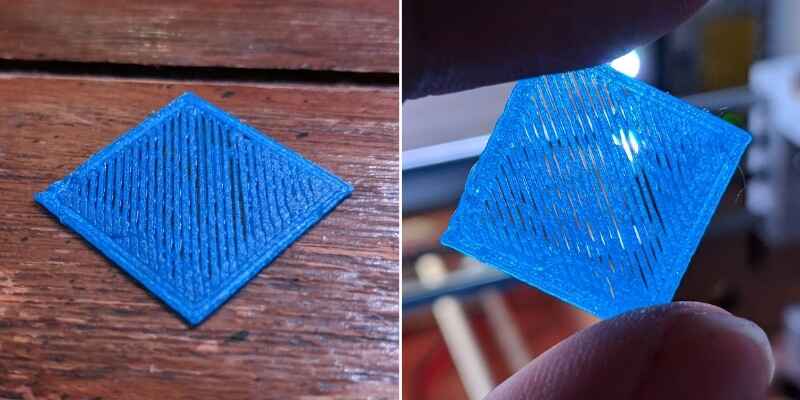
Gaps in the first layer of 3D printing happen when the filament doesn’t stick properly to the print bed. This can be caused by an uneven bed, incorrect nozzle height, or low extrusion settings. If the nozzle is too far from the bed, the filament may not spread evenly, leaving gaps.
Additionally, a bed that’s not hot enough or poor filament flow can also cause this issue. Fixing these settings helps create a smooth, gap-free first layer.
What Causes Little Bumps, Blobs, and Zits on My 3D Print?
Here are the main causes of 3D printing blobs and zits:
- Excessive filament flow: Too much material extruded during printing.
- Nozzle stops: Sudden halts cause filament buildup.
- Incorrect retraction settings: Improper retraction leads to oozing.
- High nozzle temperature: Overheating causes filament to flow excessively.
- Inconsistent print speeds: Uneven movements create surface imperfections.
Why is My First Layer So Rough in 3D Printing?
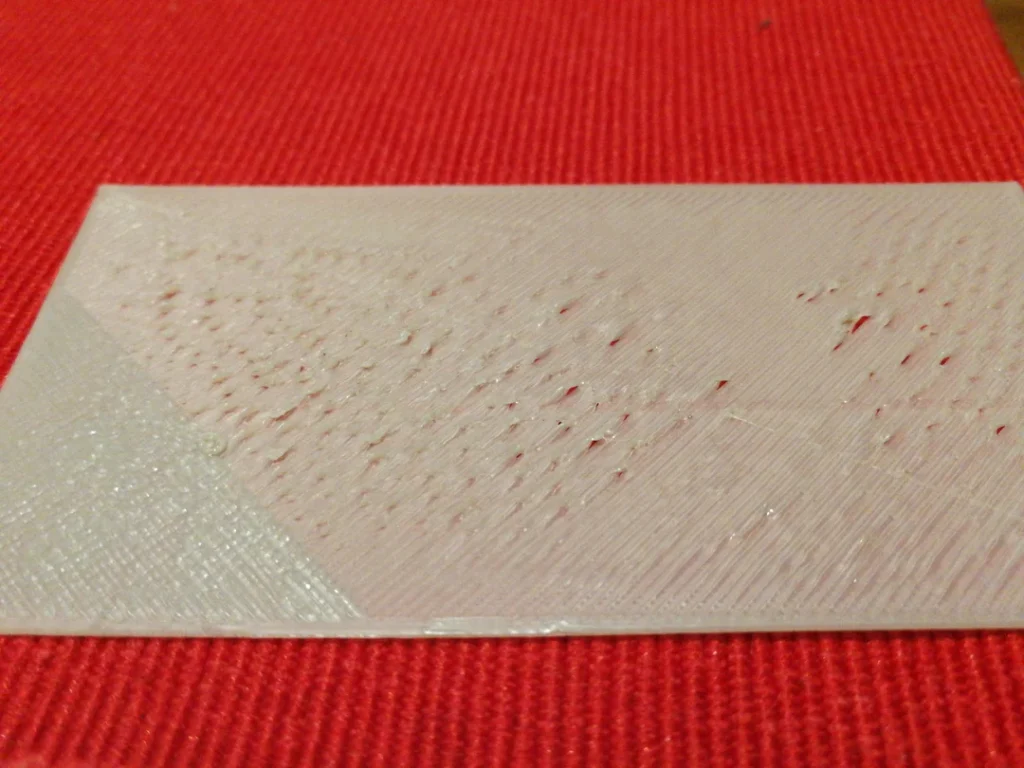
A rough first layer in 3D printing happens when the bed isn’t level, the nozzle is too far, or the bed isn’t hot enough. These issues cause uneven filament spreading, leading to a messy layer.
To fix this, level the bed, adjust the nozzle height for proper adhesion, and set the bed temperature correctly. These simple tweaks ensure a smooth and strong first layer.
What Role Does Travel Speed Play in Blob Prevention?
Travel speed plays an important role in preventing blobs during 3D printing. If the printer moves too slowly between areas, molten filament can ooze out of the nozzle and create blobs.
Increasing the travel speed minimizes the time the nozzle stays in one spot, reducing the chance of excess filament leaking.
Properly adjusting travel speed in your slicer settings ensures smoother transitions between printed sections. Faster travel speed not only prevents blobs but also helps improve the overall quality and appearance of your 3D prints.
How Can I Adjust My Live Z to Prevent Blobs on the First Layer?
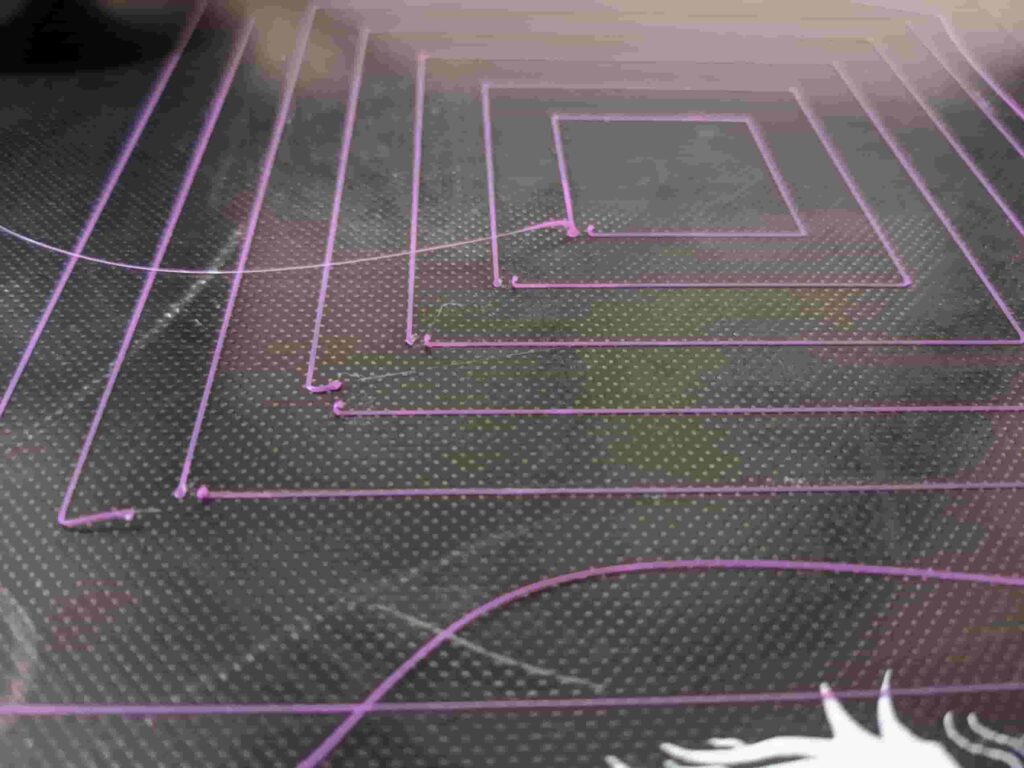
Adjusting your Live Z offset can help prevent blobs on the first layer by ensuring the nozzle is the correct distance from the print bed. If the nozzle is too close, it can cause over-extrusion and blobs, while being too far can lead to poor adhesion.
By fine-tuning the Live Z during the first few layers of printing, you can achieve a proper gap that allows for smooth filament flow, reducing the chance of blobs and ensuring better layer adhesion.
Why Does Pausing During Printing Create Blobs?
Pausing during 3D printing can create blobs because the filament in the heated nozzle keeps oozing even when the printer isn’t moving. This extra filament builds up on the print, forming a blob. The longer the pause, the more material leaks out.
To avoid this, reduce pauses during printing and ensure retraction settings are optimized. Proper retraction pulls the filament back slightly during pauses, helping to prevent blobs and keeping the print surface smooth.
How Do Retraction Settings Affect Blob Formation?
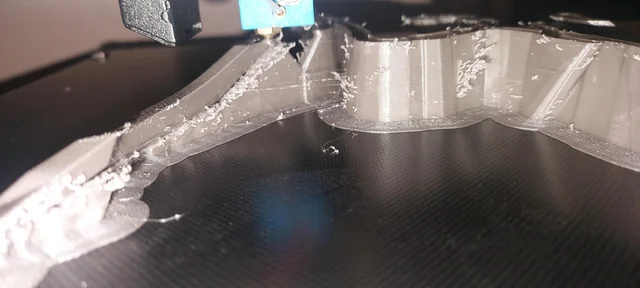
Retraction Settings Pull Filament Back: Retraction pulls filament back into the nozzle when the printer moves between sections without printing.
- Low Retraction Causes Oozing: If retraction is too low, excess filament can leak out, creating blobs or strings.
- High Retraction Risks Issues: Too much retraction can damage the filament or cause gaps in the print.
- Fine-Tuning is Important: Adjust retraction distance, speed, and minimum travel distance in your slicer software to find the right balance.
- Clean and Precise Prints: Proper retraction settings prevent blobs and help achieve smooth, accurate prints.
How Does Filament Type Influence Blob Formation?
Filament type significantly influences blob formation due to its unique properties and requirements.
- Material Elasticity: Flexible filaments are more prone to oozing, increasing the likelihood of blobs.
- Temperature Sensitivity: Materials like PLA need precise temperature control to prevent excessive flow.
- Impurities: Low-quality filaments with impurities can cause inconsistent extrusion and blob formation.
- Moisture Content: Filaments exposed to moisture can bubble during extrusion, leading to blobs.
- Setting Adjustments: Each filament type requires tailored print settings to minimize oozing and ensure smooth layers.
How Does an Incorrectly Assembled Hotend Lead to Blobs?
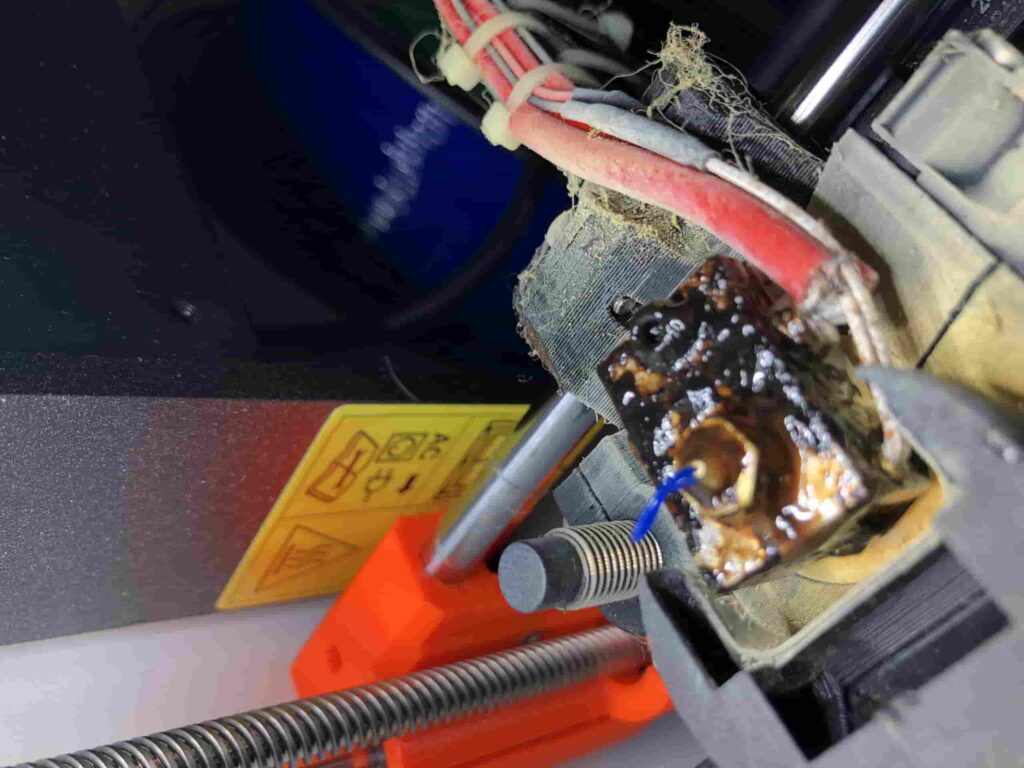
An incorrectly assembled hotend can lead to blobs by causing inconsistent filament flow or leaks. If the nozzle and heat break are not properly tightened, the molten filament can escape and form blobs around the print area.
Misaligned components may also disrupt the smooth extrusion of filament, leading to irregular deposits. Ensuring the hotend is correctly assembled and tightly secured helps maintain a consistent flow and prevents unwanted blobs during printing.
Impact of Blobs on Prints – Say Goodbye to Imperfections Caused by Blobs!
Blobs not only mar the aesthetic quality of a print but can also interfere with subsequent layers. If left unaddressed, they can lead to issues such as:
- Layer misalignment: Blobs can cause layers to misalign, leading to structural weaknesses in printed parts.
- Print failures: Excessive blobs may cause the nozzle to jam or trigger crash detection in some printers.
- Surface quality degradation: The presence of blobs can result in rough surfaces that require additional post-processing work.
What Can You Do to Prevent 3D Printing Blobs?
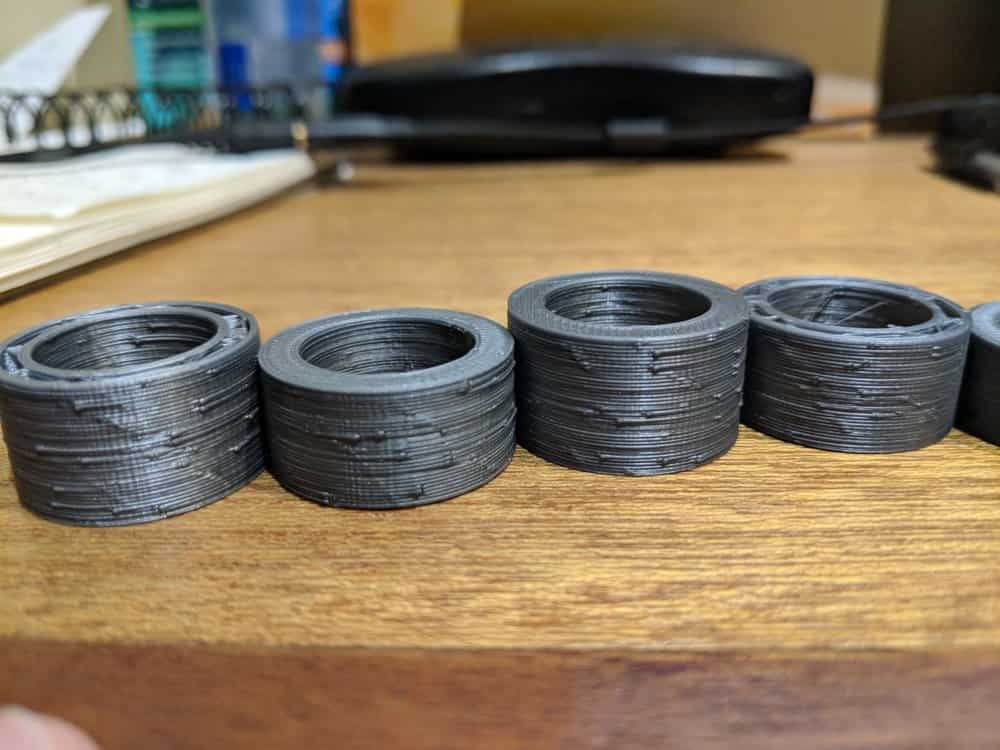
- Optimize Nozzle Temperature: Ensure the nozzle temperature matches the filament requirements. Too high a temperature can cause excessive oozing, leading to blobs.
- Calibrate Extrusion Settings: Adjust the flow rate or extrusion multiplier in your slicer software to prevent over-extrusion. Over-extrusion can cause excess material to deposit unevenly, creating blobs.
- Improve Retraction Settings: Fine-tune the retraction speed and distance in your slicer to minimize filament oozing during nozzle movements.
- Level the Print Bed: Properly level the print bed and set the correct Z-offset. An uneven or poorly adjusted bed can result in inconsistent filament flow and blobs.
- Use a High-Quality Filament: Ensure the filament is clean, dry, and of good quality. Moisture or debris in the filament can cause irregular extrusion and blobs.
Frequently Asked Questions
1. Can poor filament quality cause blobs?
Yes, poor filament quality can cause blobs. Low-quality filament may have inconsistencies in diameter or material, leading to uneven extrusion. Additionally, moisture in the filament can cause bubbling or uneven flow, resulting in blobs during printing.
2. Can a Worn Nozzle Cause Blobs?
Yes, a worn or damaged nozzle may cause inconsistent extrusion, leading to blobs. Replacing the nozzle regularly ensures smooth filament flow and better print quality.
3. How Does Print Speed Affect Blob Formation?
Printing too slowly can cause the nozzle to linger in one spot, leading to overheating and blobs. Increasing print speed reduces heat buildup and minimizes blob risks.
4. Can Stringing Between Parts Cause Blobs?
Yes, stringing occurs when filament oozes during travel, leaving strands that form blobs when the nozzle resumes printing. Proper retraction and travel settings help avoid this issue.
5. Can Inconsistent Filament Diameter Lead to Blobs?
Yes, variations in filament diameter can result in uneven extrusion, causing blobs. Using high-quality filament with consistent diameter ensures smooth filament flow and better print quality.
6. Why Does Switching Filaments Mid-Print Cause Blobs?
Switching filaments mid-print may leave excess material in the nozzle, forming blobs when the new filament extrudes. Always purge the nozzle properly before switching filaments.
7. How Do Printer Settings Influence Blob Formation?
Incorrect 3D printer settings, such as too high a temperature or improper retraction, can lead to excess filament flow and blobs. Adjusting your settings helps ensure smooth, accurate prints.
8. Can I Fix a Blob After It Forms?
Yes, blobs can be removed through post-processing methods like sanding or scraping. However, it’s best to adjust printer settings to prevent blobs from forming in the first place.
9. Can the Printer Environment Affect Blob Formation?
Yes, drafts, humidity, or temperature fluctuations in the print environment can affect filament flow and cause blobs. Keep your print area stable to avoid these issues.
10. Can I Use Auto-Calibration to Fix Blobs?
Yes, using the auto-calibration feature on your 3D printer can help ensure correct bed leveling and nozzle height, reducing the likelihood of blobs on the first layer.
Conclusion
Blobs on the first layer of 3D prints are a common issue that can stem from various factors, including nozzle height, over-extrusion, temperature settings, and adhesion problems. By understanding these causes and applying preventive measures, users can significantly improve their printing experience and achieve higher-quality results in their 3D printing projects. Regular maintenance and calibration are key to ensuring successful prints without unwanted blemishes.
