When I saw the “Endstop Z still triggered after retract” error, I was confused. My printer wouldn’t move properly, and I had no idea why. After exploring everything, I found simple fixes that worked and they’ll help you too.
Endstop Z Still Triggered After Retract ( short answer )
The “Endstop Z Still Triggered After Retract” problem happens when the printer thinks the Z endstop is stuck. It’s often caused by loose wires, firmware settings, or alignment. Check and fix these to solve it easily.
In this article we will discuss Endstop Z Still Triggered After Retract.
What Does “Endstop Z Still Triggered” Mean?
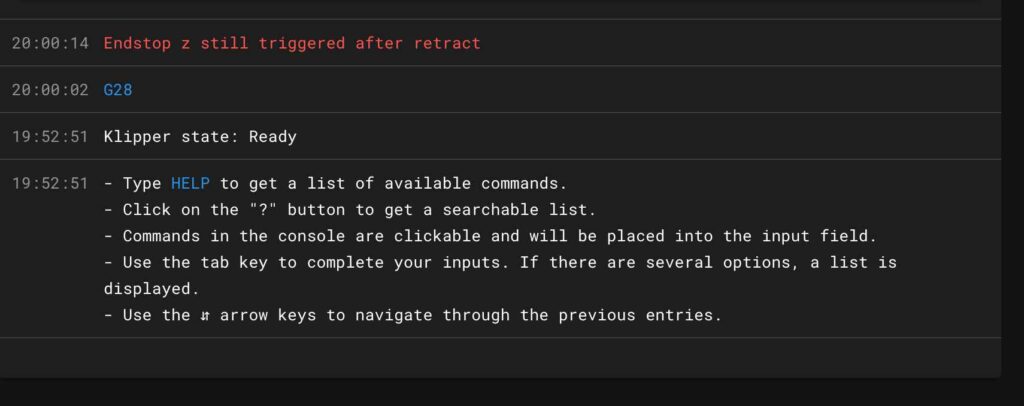
“Endstop Z Still Triggered” means the printer thinks the Z endstop is still pressed, even after moving the nozzle. This can happen due to a stuck endstop, loose wires, or wrong settings in the printer. The printer thinks the nozzle is at its lowest point, which causes it to stop moving. To fix it, check connections, align the endstop, and adjust the settings.
What are the common causes of the Endstop Z Still Triggered After Retract issue?
Several factors can cause the “Endstop Z Still Triggered After Retract” issue:
- Wiring Problems: Loose or damaged cables can cause the endstop to send incorrect signals.
- Misalignment: The endstop may be incorrectly positioned or blocked, preventing proper disengagement.
- Firmware Misconfiguration: Incorrect firmware settings can cause the printer to misread the endstop.
- Faulty Endstop: A worn-out or defective endstop switch might remain stuck or malfunction.
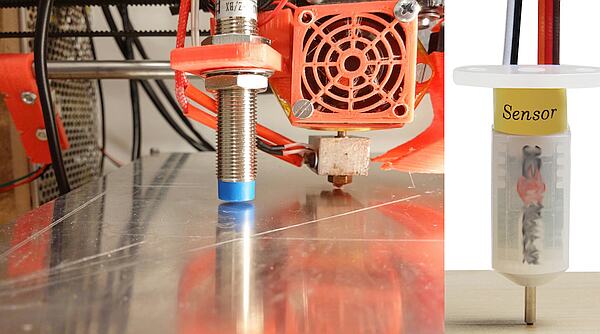
- Interference from Bed Leveling Sensor: In some cases, conflicts with bed leveling sensors like BLTouch can cause incorrect readings from the Z endstop.
What are the common hardware issues causing the endstop Z still triggered after retract error?

Common hardware issues causing the “endstop Z still triggered after retract” error include loose or damaged wires, which can send incorrect signals, and a misaligned or stuck Z endstop that stays pressed. Mechanical problems like debris or obstructions near the endstop can also cause the issue. Sometimes, a faulty or worn-out endstop needs replacement to fix the problem.
What Are the Steps to Diagnose and Fix the Endstop Z Still Triggered Issue?
Steps to Diagnose and Fix the “Endstop Z Still Triggered” Issue:
- Check Wiring: Inspect for loose or damaged connections.
- Verify Endstop Alignment: Ensure it’s properly positioned.
- Test the Endstop: Manually trigger and check the response.
- Adjust Firmware Settings: Review Z endstop settings in the firmware.
- Recalibrate Z-Axis: Make sure the Z offset is correct.
How can I test my Z endstop in the printer’s settings?
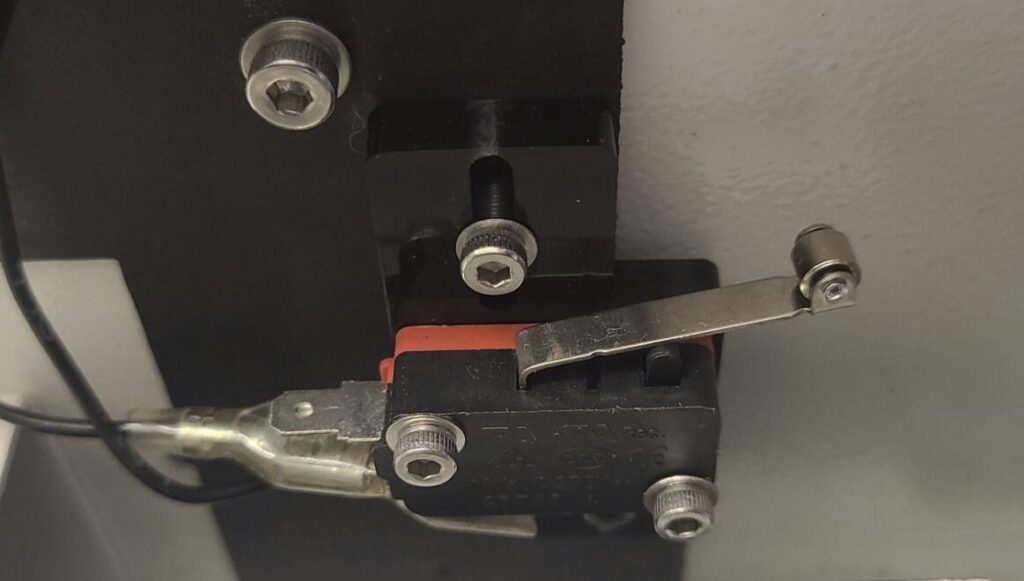
To test the Z endstop in your printer’s settings, access the printer’s control panel. Manually trigger the endstop by pressing it or moving the Z-axis down. Check the display to see if the endstop is detected correctly. If the printer recognizes the endstop as triggered or untriggered, the test is complete. Adjust settings or replace the endstop if needed.
What is the process to verify and adjust firmware settings for the Z endstop?
To verify and adjust firmware settings for the Z endstop, access the printer’s firmware configuration file. Check the Z endstop settings, like inversion or offset values, and make sure they match your hardware setup. After making adjustments, reflash the firmware and test the Z-axis movement. Ensure the endstop triggers correctly during the homing process.
How to Fix the Endstop Z Still Triggered After Retract Issue in Klipper?
If you are facing the “Endstop Z Still Triggered After Retract” issue in Klipper, first check the Z endstop wiring and make sure it’s connected properly. Next, review the firmware settings, especially the Z endstop configuration. Recalibrate the Z axis and ensure the endstop is aligned correctly. These steps should help resolve the problem and prevent it from happening again.
Are there any specific calibration steps for the Z axis to avoid this error?
To avoid the “Endstop Z Still Triggered After Retract” error, ensure proper Z-axis calibration. Start by manually moving the Z-axis to check for smooth movement. Adjust the Z offset to ensure the nozzle is at the correct height. Recalibrate the bed level and verify that the Z endstop is properly aligned to avoid false triggers.
Read Also: Practical Uses For 3d Printer – Reimagine What’s Possible!
How Can I Prevent the Endstop Z Still Triggered Issue?
To prevent the “Endstop Z Still Triggered” issue, follow these steps:
- Regularly check and secure wiring connections.
- Ensure the Z endstop is properly aligned.
- Keep the printer clean and free of debris around the endstop.
- Calibrate the Z-axis and Z offset correctly.
- Update and verify firmware settings for the Z endstop.
- Use vibration-damping materials to reduce movement.
- Periodically test the endstop’s functionality.
Can a faulty Z endstop cause print quality issues?
Yes, A faulty Z endstop can affect print quality by causing incorrect nozzle positioning. If the endstop is not working properly, the nozzle may be too high or low, leading to poor adhesion, layer shifting, or uneven prints. Inconsistent Z-axis movement can also result in layer misalignment or a failed print. Ensuring the Z endstop is working correctly helps maintain consistent print quality and reliable performance.
How can I check if my Z endstop probe is damaged?
To check if your Z endstop probe is damaged, manually press the probe and see if the printer detects the trigger in its control settings. Look for any physical damage, such as cracks or bent parts. Test the wiring with a multimeter for continuity. If it doesn’t respond properly, the probe may need replacement.
Read Also: How Long Can A 3d Printer Safely Print – Monitor Long Prints!
Frequently Asked Questions
1. Is it necessary to check the Z endstop’s physical condition regularly?
Yes, regularly checking the physical condition of the Z endstop is important. Look for cracks, wear, or any debris that might cause false triggers. Keeping it in good condition ensures proper functionality and reliable prints.
2. Can vibration affect the Z endstop’s performance?
Yes, excessive vibration can interfere with the Z endstop’s performance. If the endstop is not securely mounted, vibrations can cause it to falsely trigger. It’s important to secure the endstop and minimize vibrations.
3. Is it possible to test the Z endstop without disassembling the printer?
Yes, you can test the Z endstop using the printer’s control panel. Manually trigger the switch and check for the correct response on the display. This helps ensure it’s functioning properly without needing to disassemble parts.
4. Does the Z endstop require any special maintenance?
Yes, regular maintenance is important for the Z endstop. Clean it to remove dust or debris and check its alignment. Proper maintenance helps prevent false triggers and keeps the printer operating smoothly.
5. Can adjusting the Z offset fix this issue?
Yes, adjusting the Z offset can resolve issues with the nozzle being too high or low. Properly setting the offset ensures the Z endstop triggers correctly, preventing the issue from occurring during prints.
6. Is it safe to print with a triggered Z endstop?
No, printing with a triggered Z endstop is unsafe. It may cause the nozzle to stay too close to the bed, leading to damage or failed prints. The Z-axis might not move as expected, disrupting the entire print process.
7. Does a loose Z endstop connection cause this issue?
Yes, loose or damaged wiring can send incorrect signals to the printer. This can make the Z endstop appear triggered even when it isn’t, resulting in failed prints or misaligned layers. Ensuring solid connections is crucial for proper operation.
8. Is recalibrating the Z-axis helpful for fixing the endstop issue?
Yes, recalibrating the Z-axis can solve height or offset issues causing the Z endstop to stay triggered. Proper calibration ensures the nozzle is at the correct height, preventing false triggers and ensuring smooth printing.
9. Does a dirty Z endstop lead to false triggering?
Yes, dirt or debris on the Z endstop can interfere with its function. It might block the switch from operating correctly, causing it to stay triggered even when the nozzle is not at the bed. Regular cleaning prevents this issue.
10. Can a faulty Z-axis motor contribute to this problem?
Yes, a malfunctioning Z-axis motor can cause irregular movement, leading to the Z endstop staying triggered. This may happen if the motor is not functioning properly, affecting the accuracy of Z-axis movements and causing print failures.
Conclusion
In conclusion, the “Endstop Z Still Triggered” issue can arise from several factors, including faulty wiring, misalignment, or improper calibration. Regular maintenance, such as checking the Z endstop’s physical condition and keeping it clean, is essential for preventing this problem. Ensuring correct firmware settings and recalibrating the Z-axis can also help resolve any issues.
By taking these steps, you can maintain consistent print quality and avoid interruptions during your 3D printing projects. Proper troubleshooting ensures smoother, more reliable prints.
Read More:
